Read the transcript to the above video:
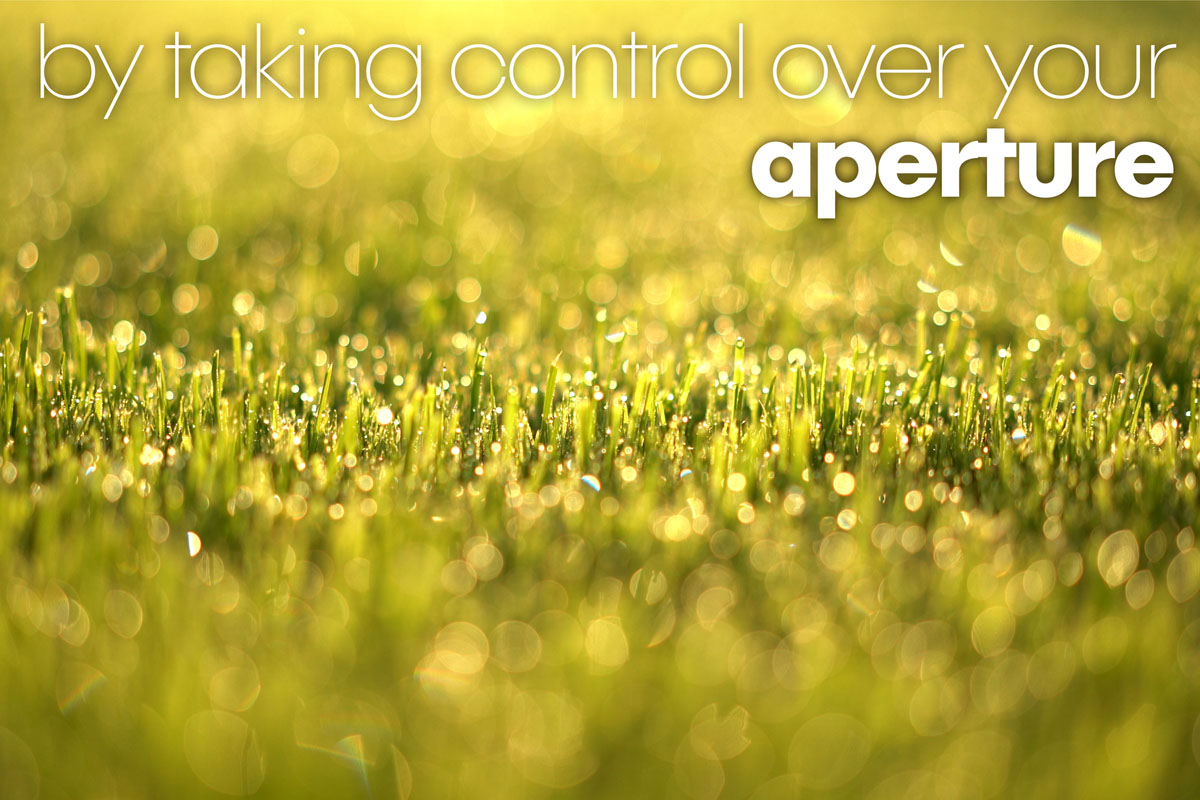
You know by now that the aperture can make images brighter or darker. What you don´t know yet is, that you can achieve amazingly different looks by changing the aperture.
Like these two examples.

But to do that, you first need to take control over the aperture.
So now we´re gonna leave the Automatic mode for the first time. Let´s turn your control dial, and choose „A“ or „Av“.

A stands for Aperture Priority and tells you that you can now choose the aperture yourself, rather than letting the camera decide.
Your camera doesn´t know what you want to shoot, so why let it decide?
Now you chose the Aperture, and the camera takes care about the rest, adjusting Shutter Speed (and maybe ISO) to properly expose your image.
The Aperture Experiment.
Chose two appropriate objects you want to capture (I took two screwankers) put them on the table and make sure they are far enough from the camera so that the camera can still focus
(btw: every lens has a different close focus distance. This can be a few inches for macro lenses, or several feet for others, we will hear about that in a later chapter).
Put the second object a little further back, let´s say one hand.

Now it is time to take two images. For the first image, we will make our aperture big – turn your dial (it is probably the front dial) and make the number you can read on your display or whereever you can read it as small as possible. Sounds weird to make the number small to have a big opening, but don´t let that confuse you right now. For some lenses the smallest number will be 3.5, for others 5,6 and if you have a more expensive lens, it might even be 1.8. That depends on your lens.
Time to take the first picture: try not to move the camera, and press the shutter.
In order to correctly expose the image, our camera will choose the appropriate shutter speed. Depending on the amount of light in your room it can be faster or slower.
Without moving the camera, turn your dial in the opposite direction, making the number for the aperture as big as possible. That should be somewhere near 22. Again, press the shutter without moving the camera. Don´t be surprised if the shutter speed this time is much longer you closed the Aperture pretty much, so the camera is compensating for that.
A sidenote: If your camera didn´t focus on the front object, you need a little more control over the focus. We´ll cover that later in another chapter.
That was our experiment, let´s look at the pictures.
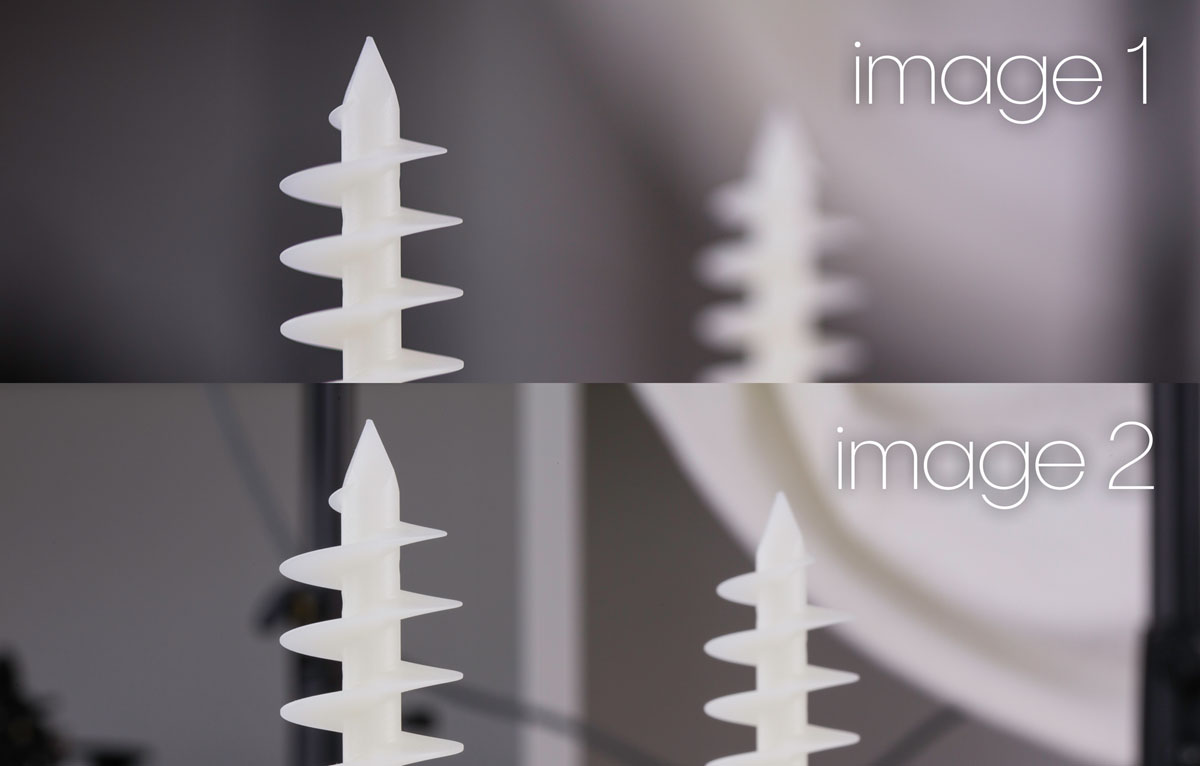
Our images are not spectacular, but they show you one thing: the object in front is sharp in both images, but what about the object in the back?
It is more blured in the first image, but sharper in the second one. And the same with the background. It is more blurred in the second image, than in the first.
Photographers call that depth of field or depth of focus.
What can we do with our new knowledge? Let´s get creative in the next movie. Remember what you learned in this movie! For the first time you left the Auto-Mode and set the aperture by yourself – CONGRATS!
QUESTIONS? Please don´t hesitate to post in the comments on youtube
NEXT LESSON: 2.2. The Effects of Aperture - Part II